Welcome to our Knowledge Base
PAX Credit Card Reader Setup
-
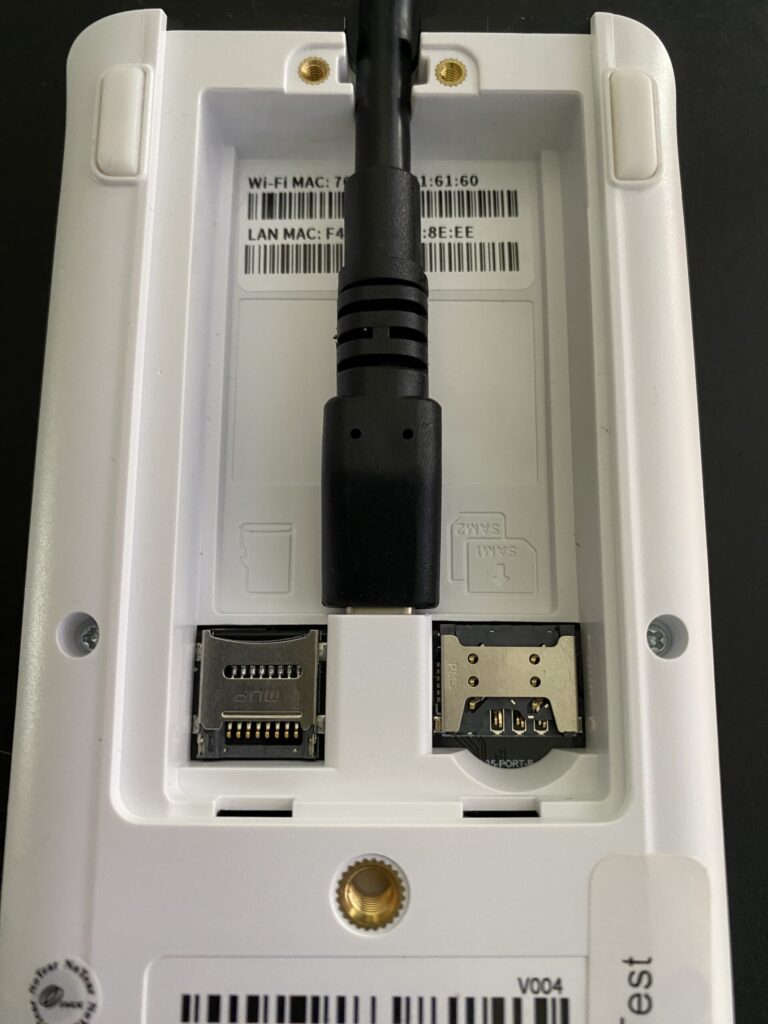
Turn your device upside down and plug the USB-C as seen here.
First you will need to plug in your PAX device. There are several cables that need to be plugged in. The USB-C cable will be connected to the under side of your device.
-
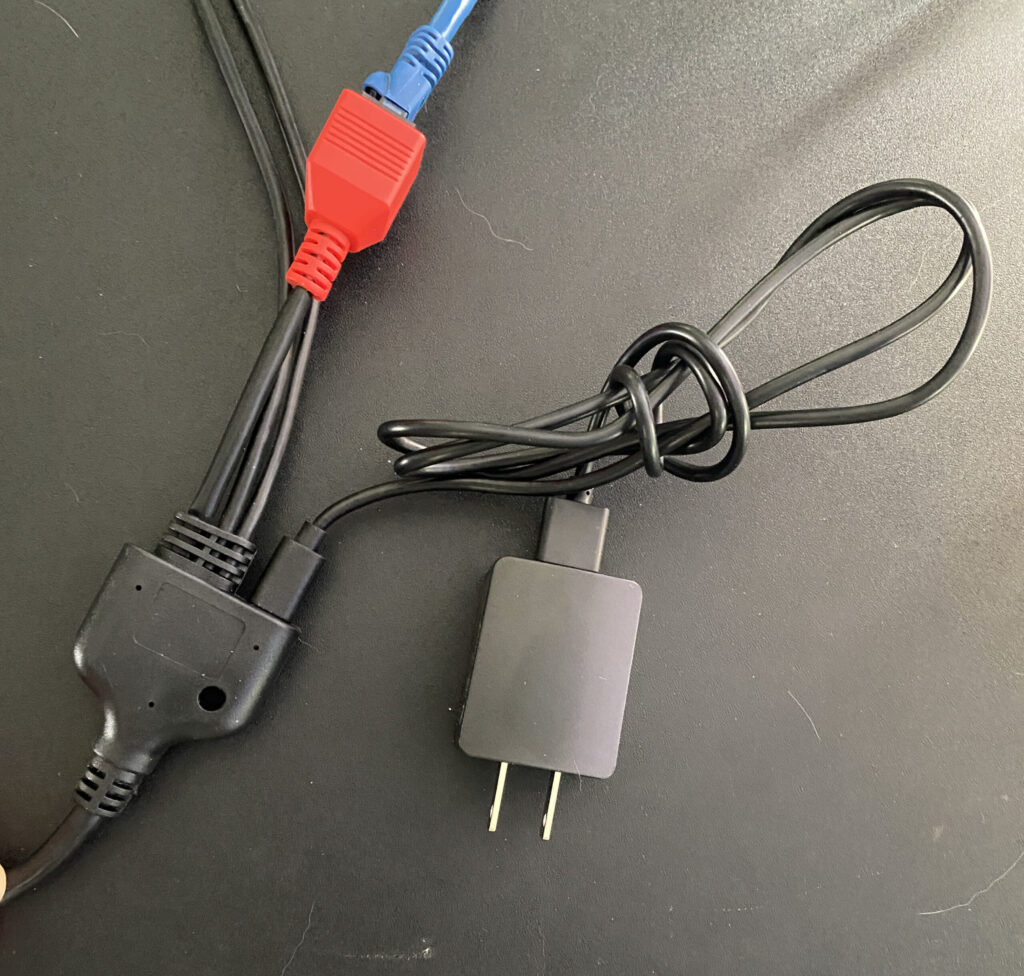
Plug the USB-C cable into the adapter. On the other end is a standard USB plug that will fit into the power adapter and then into the wall outlet.
-
Network / Ethernet cable needs to be plugged into the schools network. The other cables coming out of the Y adapter are not used for our configuration.
The other end of the cable has a Y adapter with 3 cable’s coming out of it and one open spot for a USB-C cable.

-
Once the device is powered up, click on the Settings icon.
-
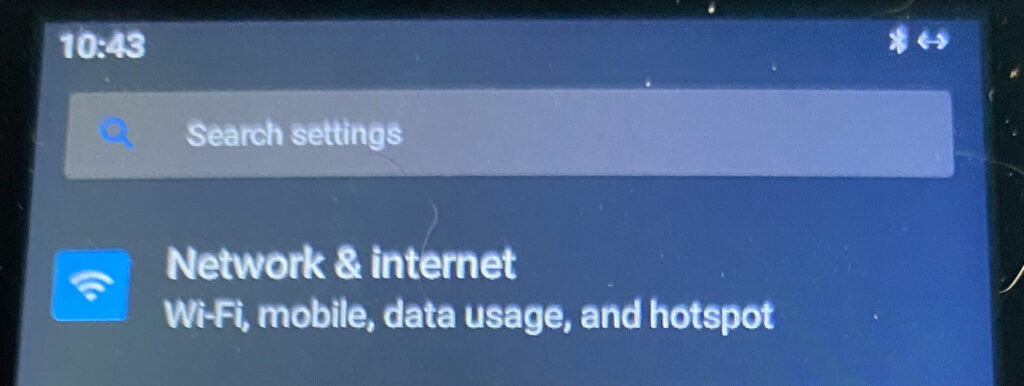
Next click Network & Internet
-
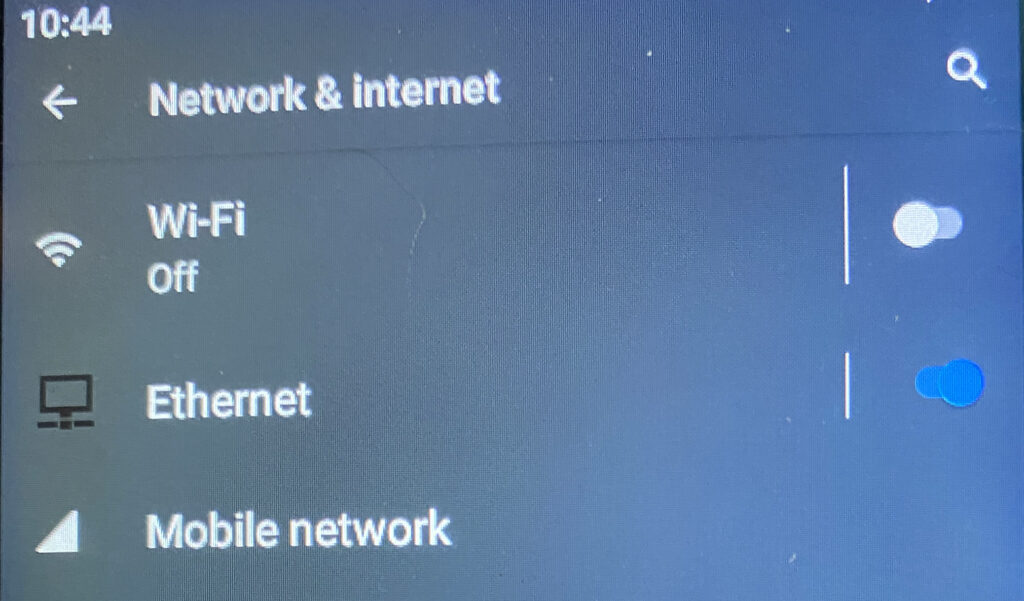
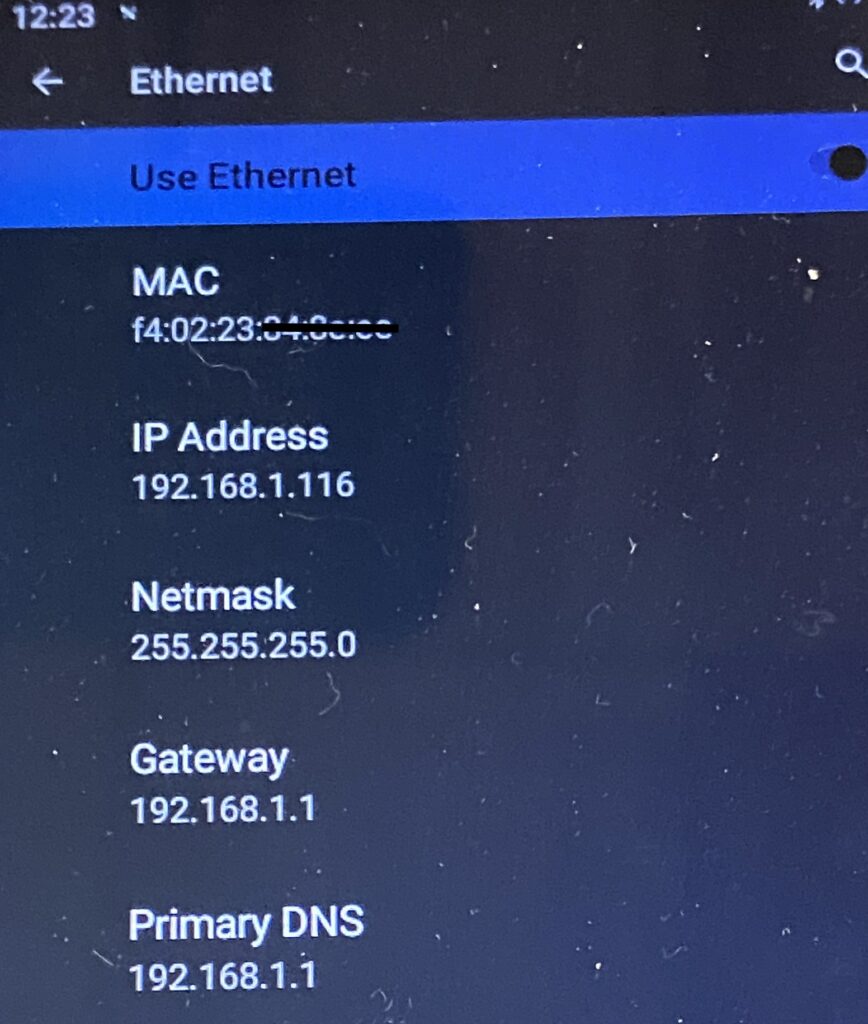
Be sure Ethernet is turned on
-
Click the text “Ethernet” to go into the Ethernet settings
If using a wired connection (recommended) turn on Ethernet
-
Identify and write down the IP Address. This will be needed in future steps. In this example (192.168.1.116)

-
Be sure Wi-Fi is turned on
-
Click the text “Wi-Fi” to go into the settings
If using a wireless connection, turn the switch on for Wi-Fi, this image is white, when it is on it will be Blue.
-
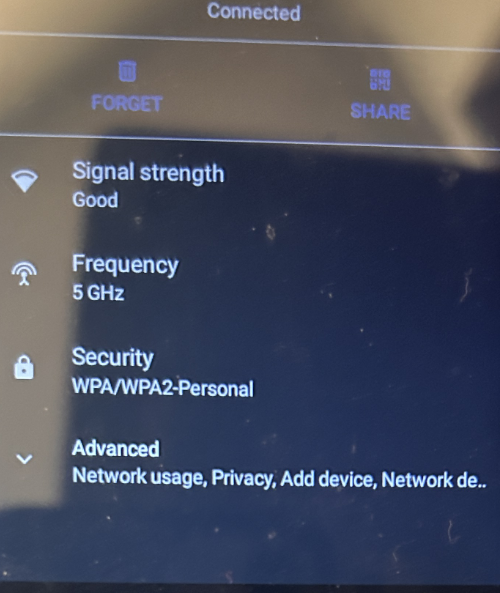
Click the drop down arrow to the left of “Advanced”
Select your wireless network and connect. Once connected, there will be a small cog wheel next to the network name. Click that and go into the network settings.

-
Identify and write down the IP Address. This will be needed in future steps. Our example is (192.168.1.116)
-
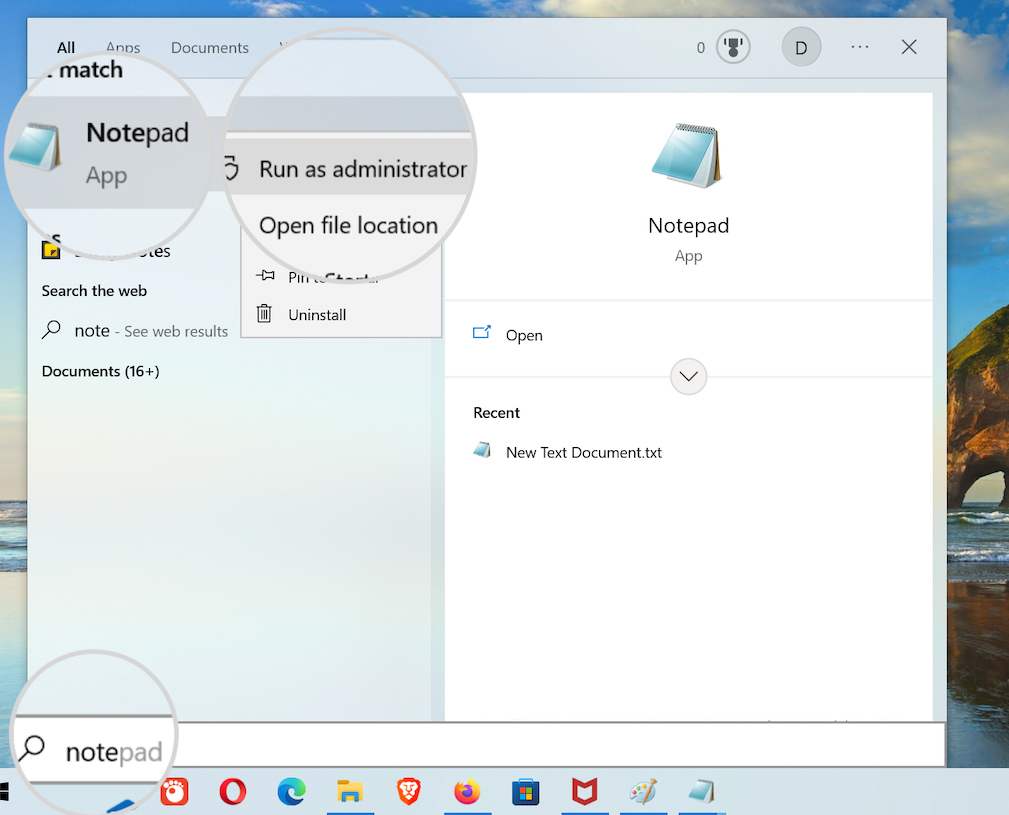
Search for Notepad ( or for Notepad++ ).
-
Right click the Notepad application and choose “Run as administrator“
-
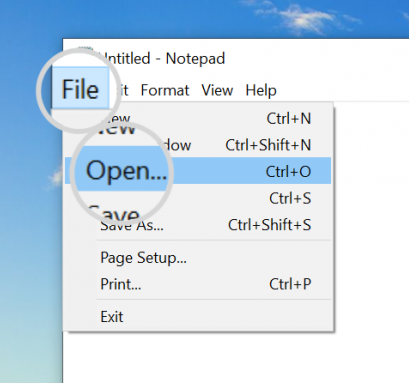
Click File
-
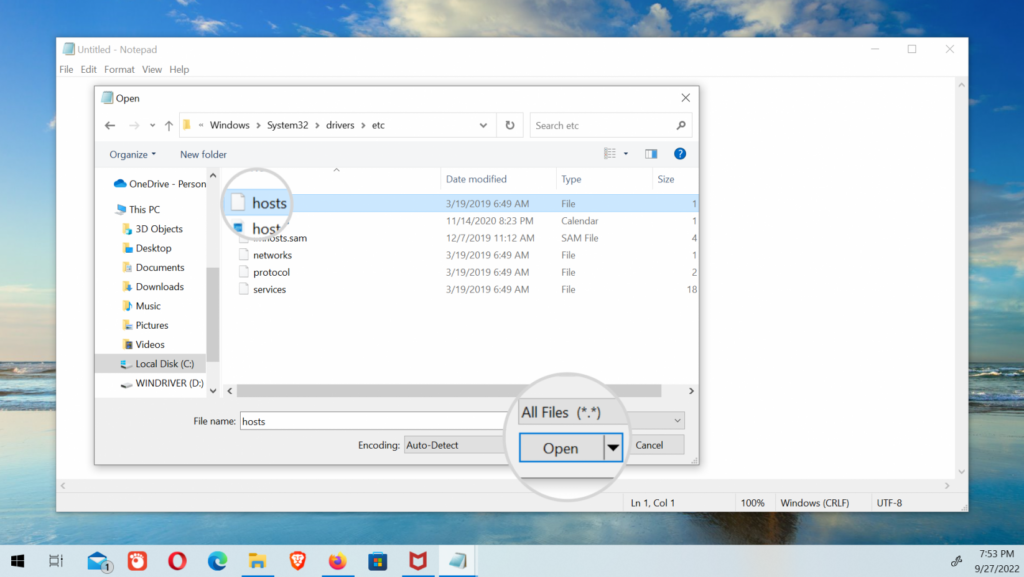
Click Open
-
Navigate to C:\Windows\System32\drivers\etc\hosts
-
Change File Types to view to All Files (*.*)
-
Open the “hosts” file
-
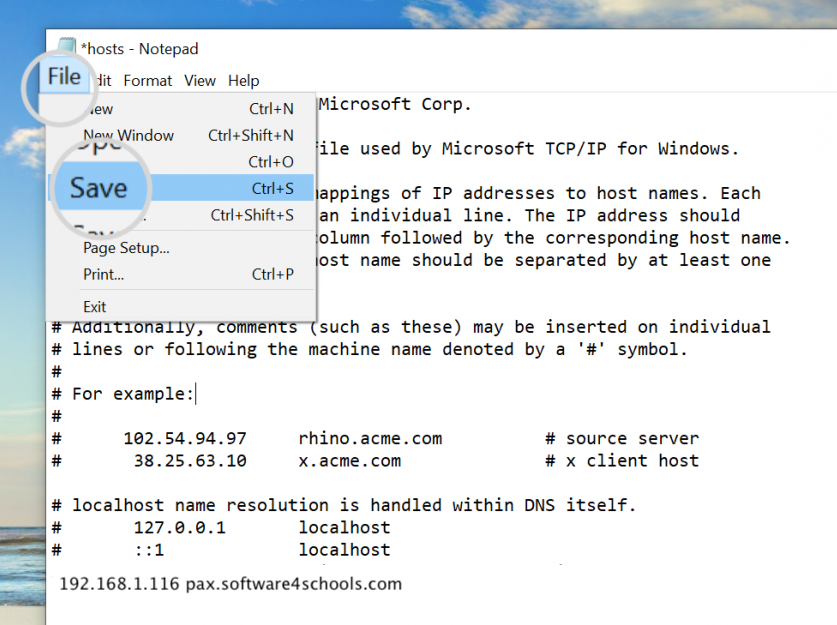
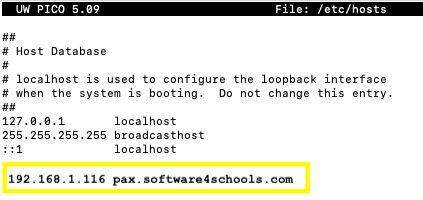
Add in the following line of text
192.168.1.116 pax.software4schools.com
Note: You must change the IP Address to match your device IP Address from above. Also there is no # before the IP address. The # indicates to ignore that line of text
-
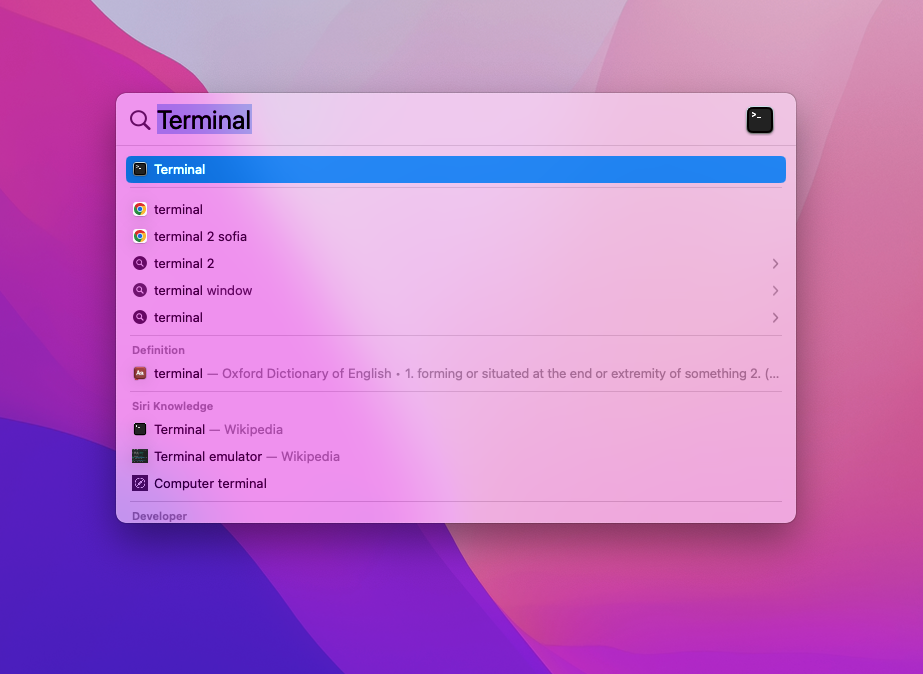
Command + Space. In the pop-up window, type Terminal and press Enter.
Or go to Applications / Utilities and Open up Terminal
Open up Terminal
-
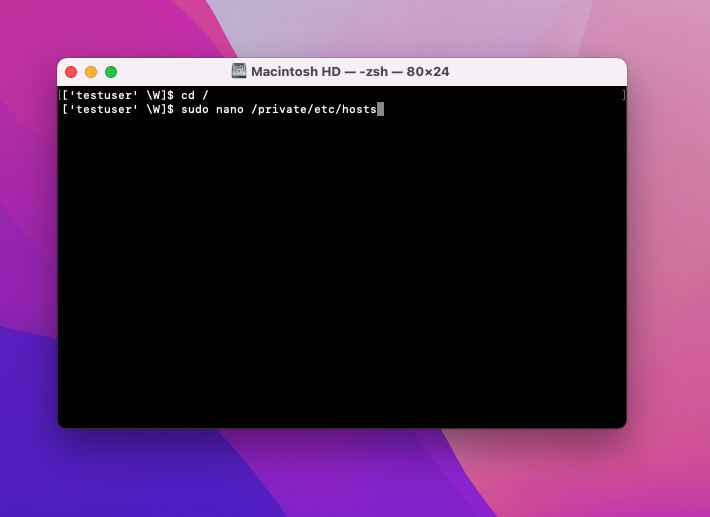
Next type the following
sudo nano /etc/hosts
Next click Enter to confirm the command. You will then see the text Password with a key icon. Enter the password for your computer login. This must be an Administrator account
-
Add in the following line of text
192.168.1.116 pax.software4schools.com
Note: You must change the IP Address to match your device IP Address from above.
Finally click control+X then click y Yes to save your file.
-
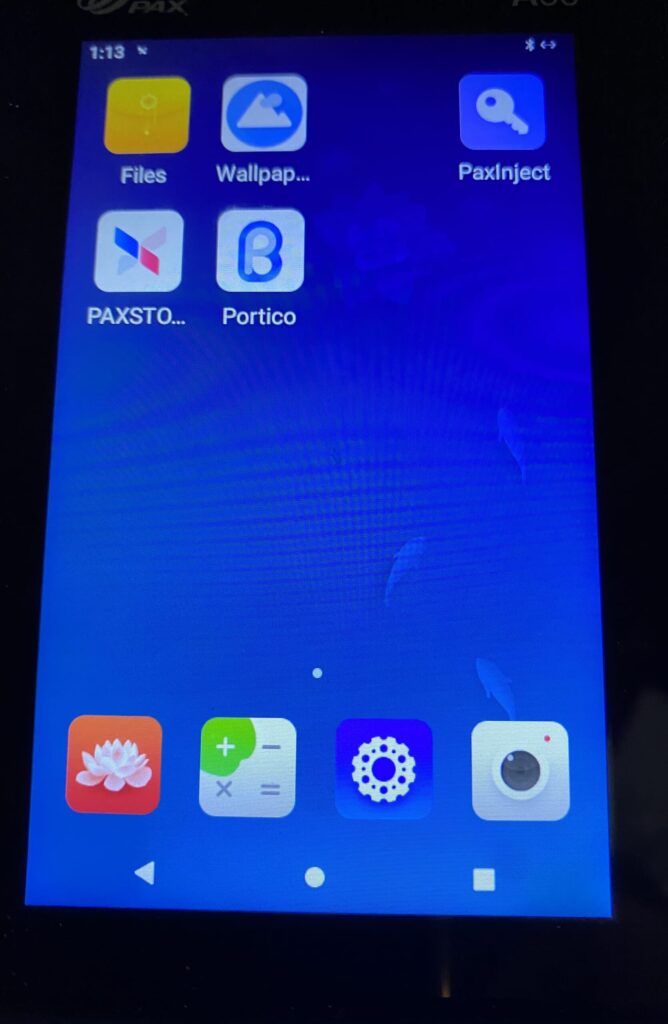
Click the Portico app to start it up. This always needs to be running for the software to connect to this device.
Go back into the PAX device. Click the Circle at the bottom of the screen to go back to the home page.

-
When the app is running you will just see the blue screen that says PAX on it. This means your device is ready.
-
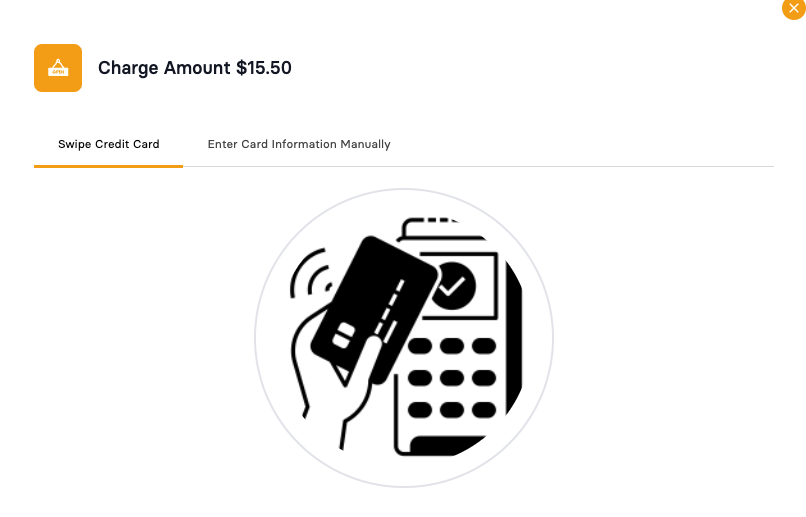
When Credit Card is selected as the payment option you will see this on the Store 4 Schools Screen
-
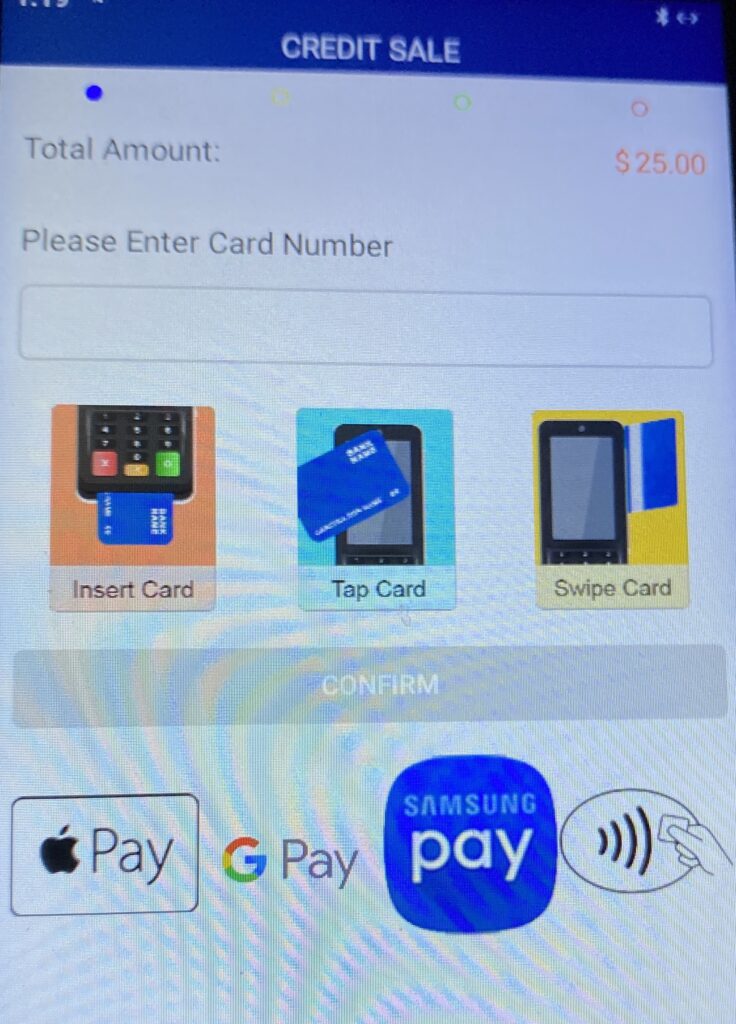
The PAX device should then show a screen like this with the total amount.