Welcome to our Knowledge Base
-
System Settings
-
- System Settings Getting Started (Video)
- Upload Students (Video)
- Upload Students
- Upload Student Pictures
- User Permissions
- SFTP Automated Student Rosters
- Microsoft Single Sign-On (SSO)
- Safari Web Browser
- System Requirements
- Whitelist URL's
- Spirit Point Reward Tracking
- Google Single Sign-On (SSO)
- Status
- Automated Intervention Extract
-
- Upload User Accounts
- User Accounts
- Upload Students
- Upload Students (Video)
- Upload Student Pictures
- User Permissions
- Manage Family and Guests
- Mass Updates
- Manage Students
- Microsoft Single Sign-On (SSO)
- Preparing for Next School Year
- Printer Setup - 3" Thermal (Windows)
- Printer Setup - 3" Thermal (Mac) **Advanced Setup**
- Printer Setup - 3" Thermal Network (Mac) **Advanced Setup**
- Google Single Sign-On (SSO)
- Classlink
- District Admin
- Show all articles (2) Collapse Articles
-
-
Store
-
- Changing Payment Type After Transaction has Completed
- Creating a Transaction
- E-mail Receipts
- Exporting Ticket Sales from Store to Ticketing for Checkin
- Modify Transaction - Post Sale
- Payment Type
- PAX Credit Card Reader Setup
- Portal Purchased Product Pickup and Reports
- Product Buttons
- Printing Receipts
- ProPay: How to Process Credit Cards
- ProPay: How to Void a Transaction
- Scanning a Student ID
- Returns
- Reprint Receipt and Resend Receipt by E-mail
- Student Credit
- Student Credit - Credit Refunds
- Discount Options
- Convenience Fee
- Student Alerts
- Show all articles (5) Collapse Articles
-
- Manage Products
- Barcodes
- Categories
- Configure your Portal and Products
- Inventory
- Mass Product Updates
- Mass Product Update (Video)
- Product History (Link on Current Transaction)
- Product Groups
- Product Agreement
- Store Importing Products
- Vendors
- Account Codes
- Duplicate Product
- Store Imports
- Student Alerts
- Show all articles (1) Collapse Articles
-
- Family and Guest Management
- Manage Spirit Points
- Manage Students
- Manage Family and Guests
- Mass Updates
- Student Credit
- Student Credit - Credit Refunds
- Discount Options
- Student Type
- Managing Student Credit
- Student Spirit Points
- Upload Students
- Upload Student Credit
- Upload Student Pictures
- Upload Students (Video)
- Add Students
- Student Negative Account Balance
- Student Alerts
- Show all articles (3) Collapse Articles
-
- Accessing the Student Only Store Portal
- Accessing the Open Store Portal
- Configure your Portal and Products
- Family and Guest Management
- Google Single Sign-On (SSO)
- Family Portal
- ProPay (Heartland) Merchant Account
- Manage Family and Guests
- Microsoft Single Sign-On (SSO)
- Portal Purchased Product Pickup and Reports
- Convenience Fee
-
- Accessing the Student Only Store Portal
- Accessing the Open Store Portal
- Configure your Portal and Products
- Cash Drawer (Connected to Thermal Printer)
- Cash Drawer (USB) Windows 10
- ProPay (Heartland) Merchant Account
- My Account
- PAX Credit Card Reader Setup
- Portal Purchased Product Pickup and Reports
- Product History (Link on Current Transaction)
- Product Agreement
- SFTP Automated Student Rosters
- School Logo
- Taxes
- User Accounts
- User Permissions
- Upload User Accounts
- Whitelist URL's
- Pay Open Invoice by Credit Card
- Account Codes
- Renewal
- Store Imports
- Show all articles (7) Collapse Articles
-
- System Settings Getting Started (Video)
- Mass Updates
- ProPay (Heartland) Merchant Account
- PAX Credit Card Reader Setup
- Google Single Sign-On (SSO)
- Microsoft Single Sign-On (SSO)
- School Logo
- User Accounts
- Preparing for Next School Year
- Remote Support
- Upload Student Pictures
- User Permissions
- Upload User Accounts
- Convenience Fee
- Classlink
- Account Codes
- Show all articles (1) Collapse Articles
-
Voting
-
- Adding an Election
- Adding Candidates
- Adding Officer Positions
- Adding Pictures and Biographies
- Archive and Retrieve Old Elections
- Create a Survey (Video)
- Election Layout Options
- Duplicate an Election
- Election Preflight
- Preview an Election
- Removing Candidates
- Using Video Biographies
- Write-in Candidates
- Rank Choice Voting
-
- Configure the Student Login Page
- Hobbies and Biography
- My Account
- Notifications for Unsuccessful Student Login Attempts
- Require Student E-mail
- Require Change Passwords
- SFTP Automated Student Rosters
- School Logo
- User Accounts
- User Permissions
- Upload User Accounts
- Whitelist URL's
- Pay Open Invoice by Credit Card
- Renewal
-
Ticketing
-
- Add Event
- Ticketing Attendance Report
- Check-In
- Display all Events
- Event Types
- Exporting Ticket Sales from Store to Ticketing for Checkin
- Mobile Check-in
- Pre-load Event
- Spirit Point Reward Tracking
- Sell Tickets
- Ticket and Check-in
- Link Store Ticket Sales to Ticketing 4 Schools
- Sell Tickets (New)
- Duplicate Event
-
- System Settings Getting Started (Video)
- Mass Updates
- ProPay (Heartland) Merchant Account
- Microsoft Single Sign-On (SSO)
- Google Single Sign-On (SSO)
- Upload Student Pictures
- User Accounts
- User Permissions
- Upload User Accounts
- School Logo
- Preparing for Next School Year
- Remote Support
- Classlink
- Convenience Fee
-
Interventions
-
- Bell Schedules
- Interventions
- Mass Updates
- My Account
- Printer Setup - 3" Thermal (Windows)
- Printer Setup - 3" Thermal (Mac) **Advanced Setup**
- Printer Setup - 3" Thermal Network (Mac) **Advanced Setup**
- SFTP Automated Student Rosters
- School Logo
- User Accounts
- User Permissions
- Upload User Accounts
- Whitelist URL's
- Pay Open Invoice by Credit Card
- Renewal
- Automated Intervention Extract
- Show all articles (1) Collapse Articles
-
Announcements
-
Student / Family Portal
-
Digital ID
Preparing for Next School Year
In order to complete this process you must be a Super User or App Owner.
This article is broken up into 4 main steps.
- Exporting / Disabling Events
- Staff Accounts
- Student Accounts
- Renewal of your Software Account
1. Export Reports and Disable old Events
Click on the + below for each module you are using. You will find specific instructions on how to export any data and deactivate last years events.
Print Reports or Export Data
We recommend that you export or print out any reports that you might need for any future audits that might come up.
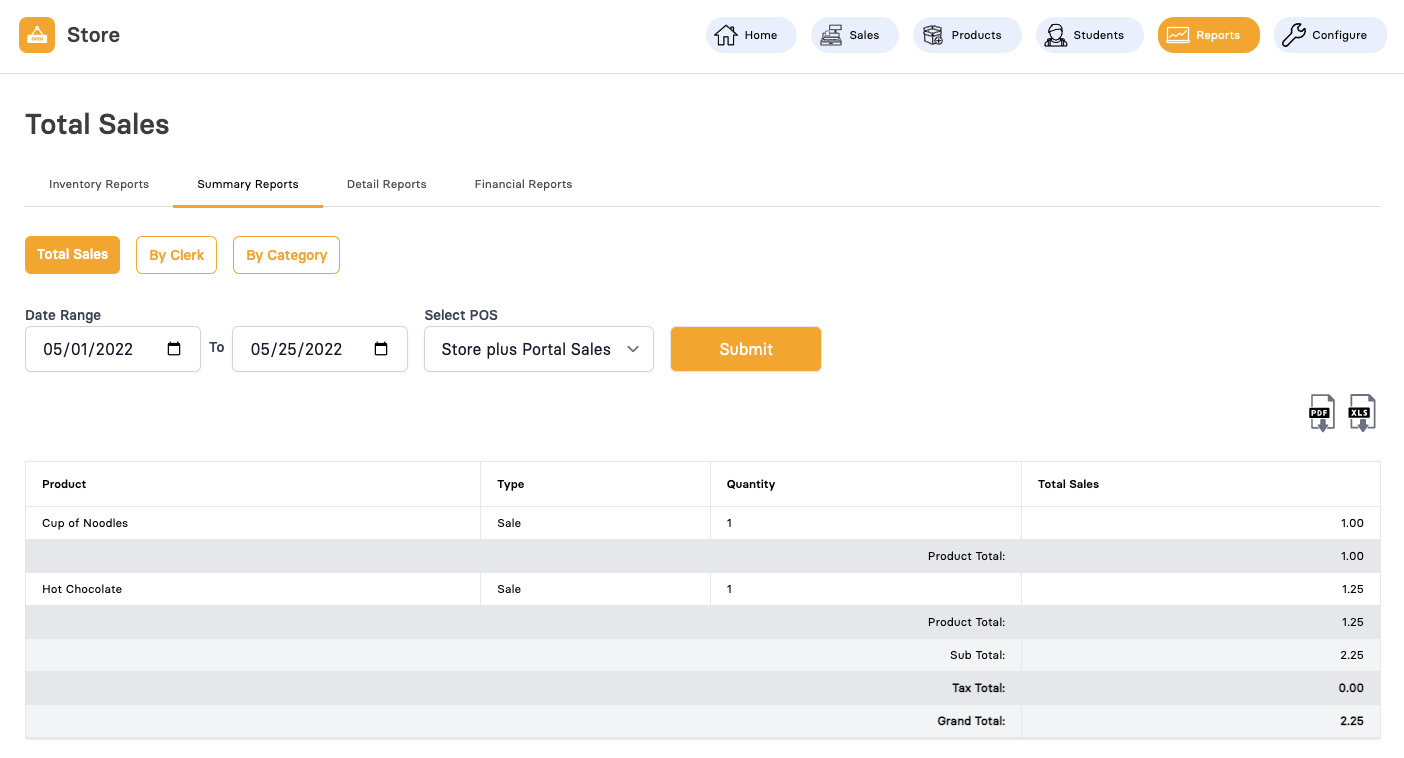
You should run this from the beginning of the school year to the end of the school year which will create a report with every single transaction that happened in the system for that date range. If you run monthly reports you may not need to do this.
Update your Inventory
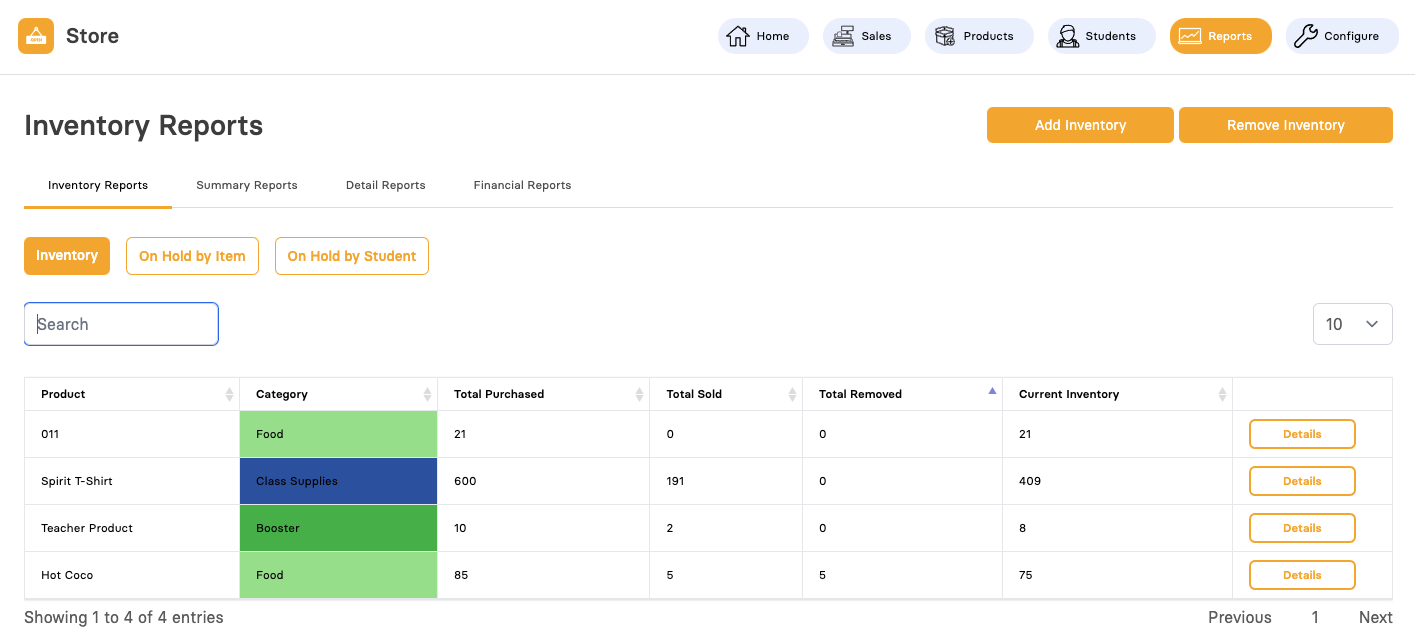
This is a good time to also balance out your inventory.
You will want to make sure your physical inventory matches your inventory in the application.
You can use the “Add Inventory” option to add new inventory or the “Remove Inventory” option to balance out and remove any expired inventory from the end of last school year.
Purge Old Data
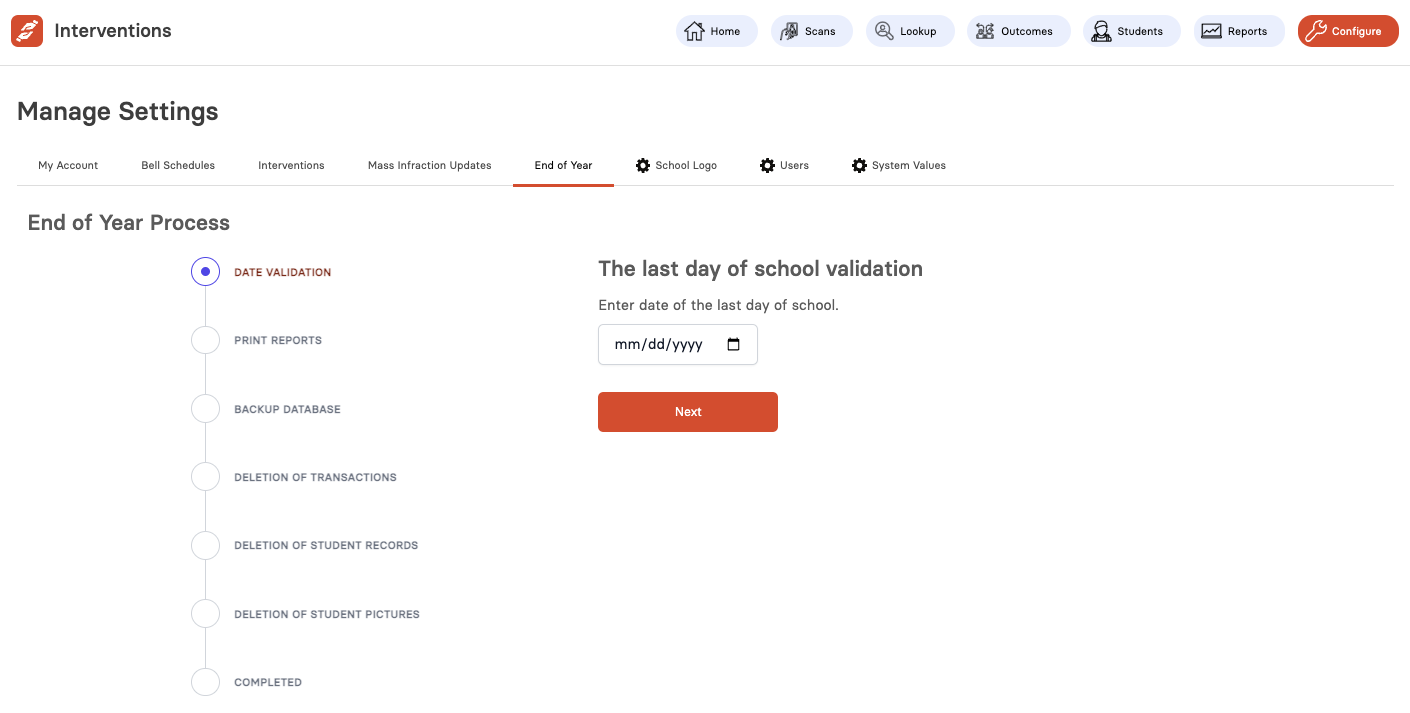
To access, click on the Configure button available at the top bar and select the tab for End of Year.

Each step of the routine is explained on the page itself. This routine should not be attempted until after completion of the most recent academic year. That is, when all the students are out for the summer, and there are no scanning for infractions. It should be done before resuming after the summer break, and before uploading a fresh set of student data.
Set the last day of school and click Next button to begin the process.
Deactivate old Events
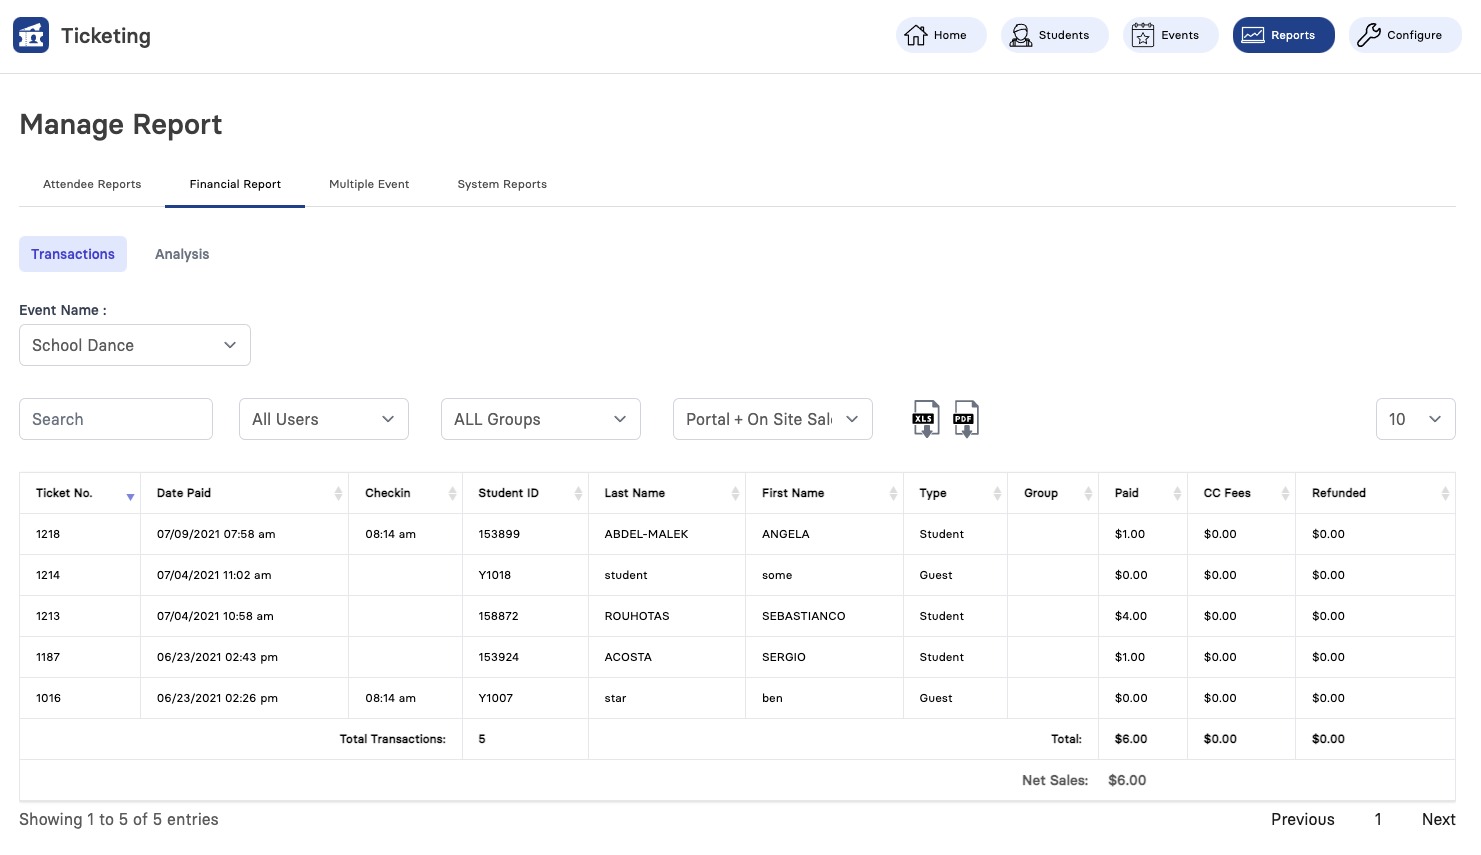
You will want to start by exporting or printing any reports that you might need audits or other purposes. One important report we recommend is the Transactions report. This has every ticket that was sold at an event, who it was sold to and how much it was sold for. To access this report, click on the Reports button available at the top bar and select the tab for Financial Report.
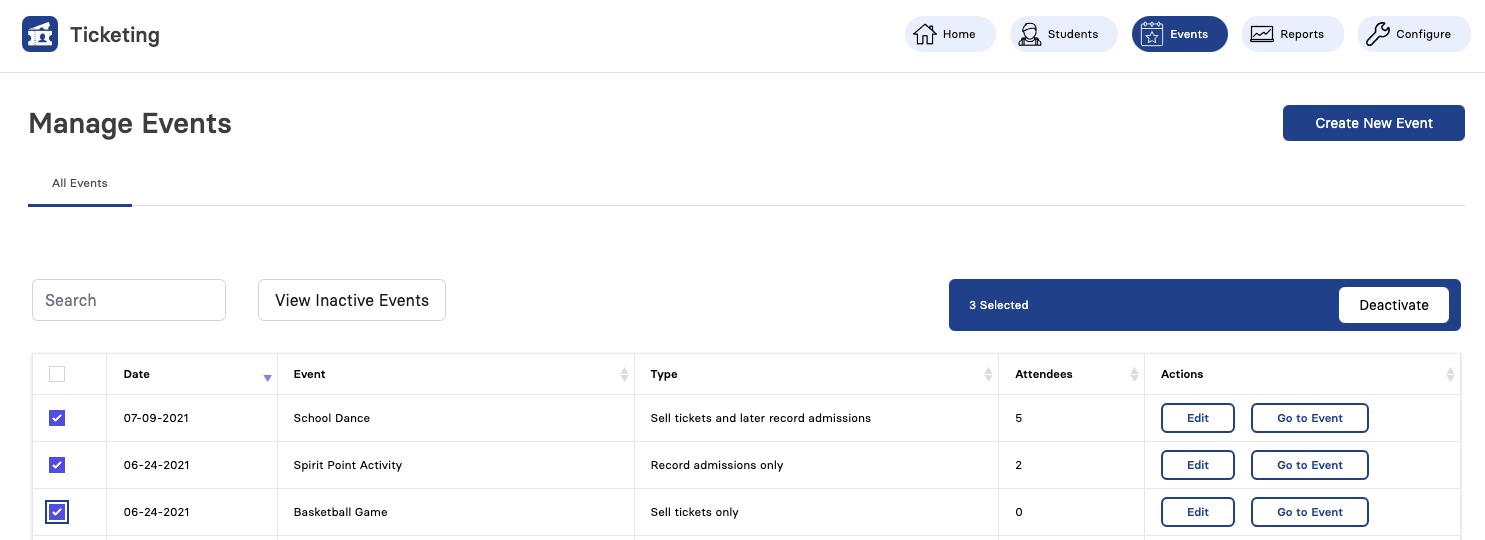
Next we recommend that you deactivate all your prior year events. To do so, click on the Events button at the top bar and select the tab for All Events. Then check the boxes of the old events and click Deactivate. This process just hides them from your events page. To view old events, just click on View Inactive Events and you can always activate them again if you need to access them in the future.
Deactivate old Elections
It is recommended to deactivate all your prior year elections. Click on the Elections button available at the top bar and select the tab for Elections.
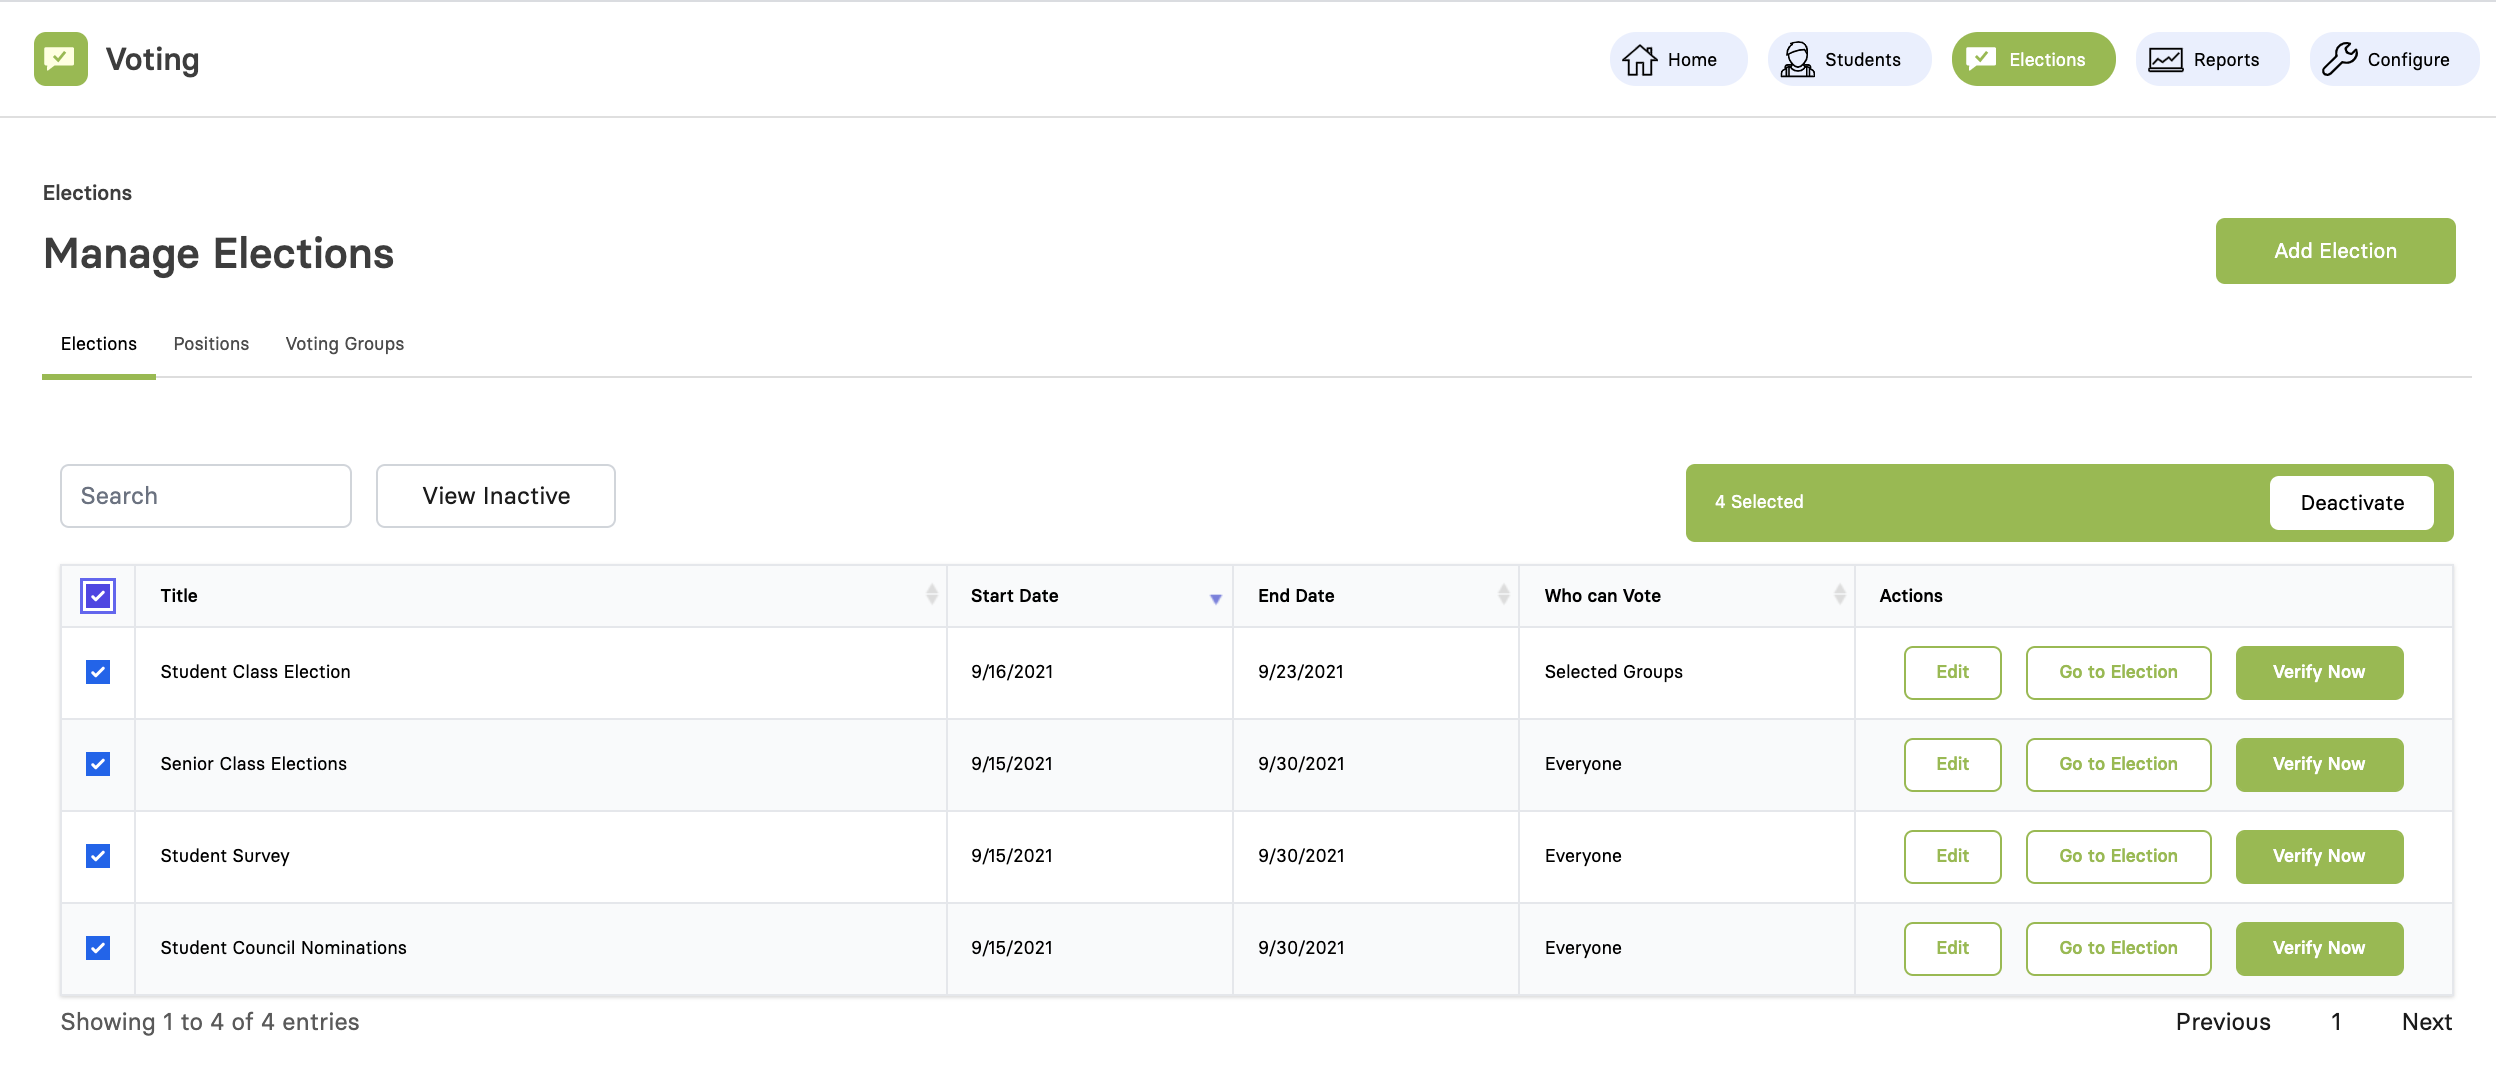
Use the check-boxes to select all elections.
Click on the Deactivate button. Doing this will hide the elections from your main screen. If you need to look at prior year elections you can click on the View Inactive button.
Deactivate old announcements
Some schools like to reuse announcements year after year by changing the date for the announcements to the current year and updating the text. If you plan to reuse announcements, you can skip this step. If you don’t reuse announcements, we suggest that you do the following.
 Manage Announcements[/caption]
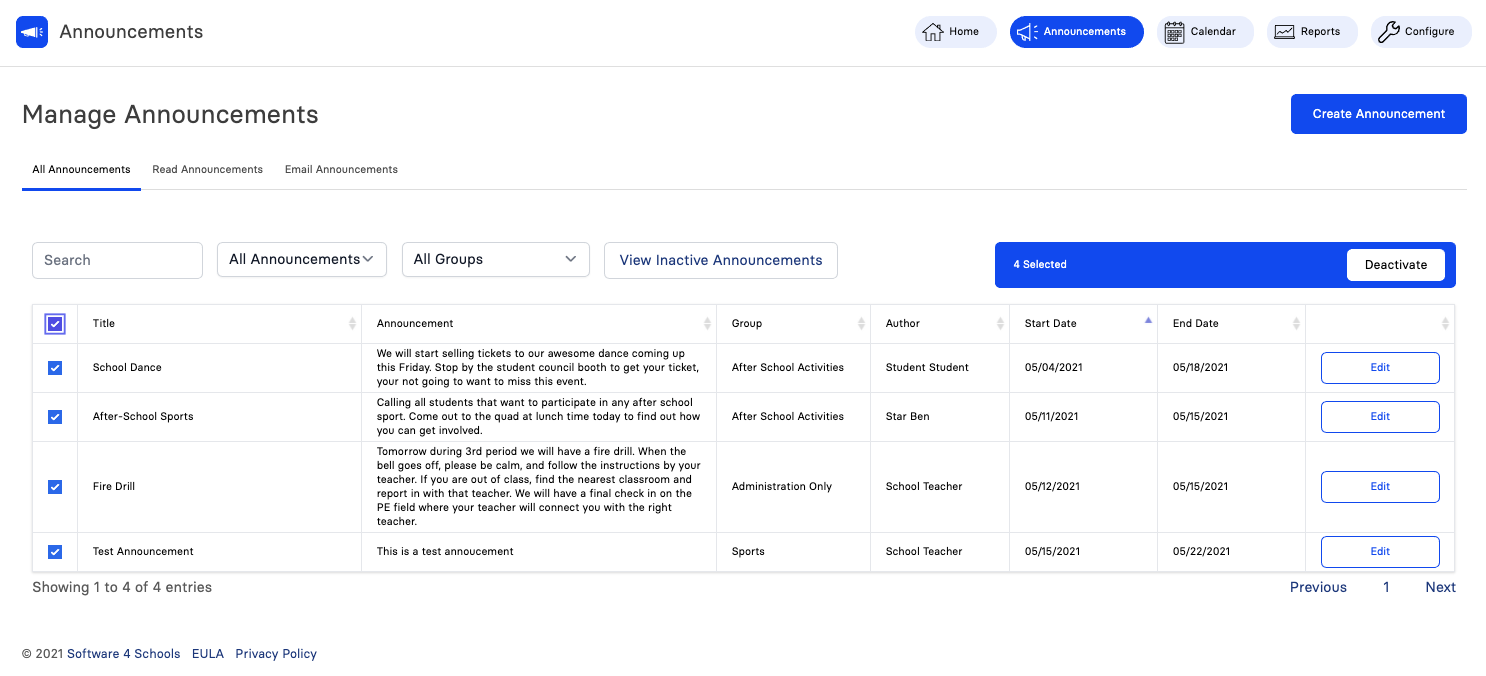
Click on the Announcements button available at the top bar. Now, select the All Announcements tab.
To ensure all announcements are visible, select the filter for All Announcements.
Check all the announcements on the page using the checkboxes.
Click on the Deactivate button to put all of the announcements into an inactive status.
Because announcements are date driven, leaving them active will not do any harm.
2. Clean up user Accounts

-
Click Edit to change access for a user or check the box of one or more users to Deactivate them.
-
Click Deactivate to disable a user account
-
Add Staff to create new staff members and grant application access (Learn more about User Accounts)
Go into System / Users / Staff to update any staff members
3. Deactivate and Update Student Accounts

-
Click Users
-
Click Students
-
Click Upload Students
The process of uploading students does multiple actions in one step. The upload will disable students that are no longer at your school, update returning students and load new students. This can be automated from your school districts SIS if you choose to automate this process. If not you can manually upload your students.
4. Renew your account
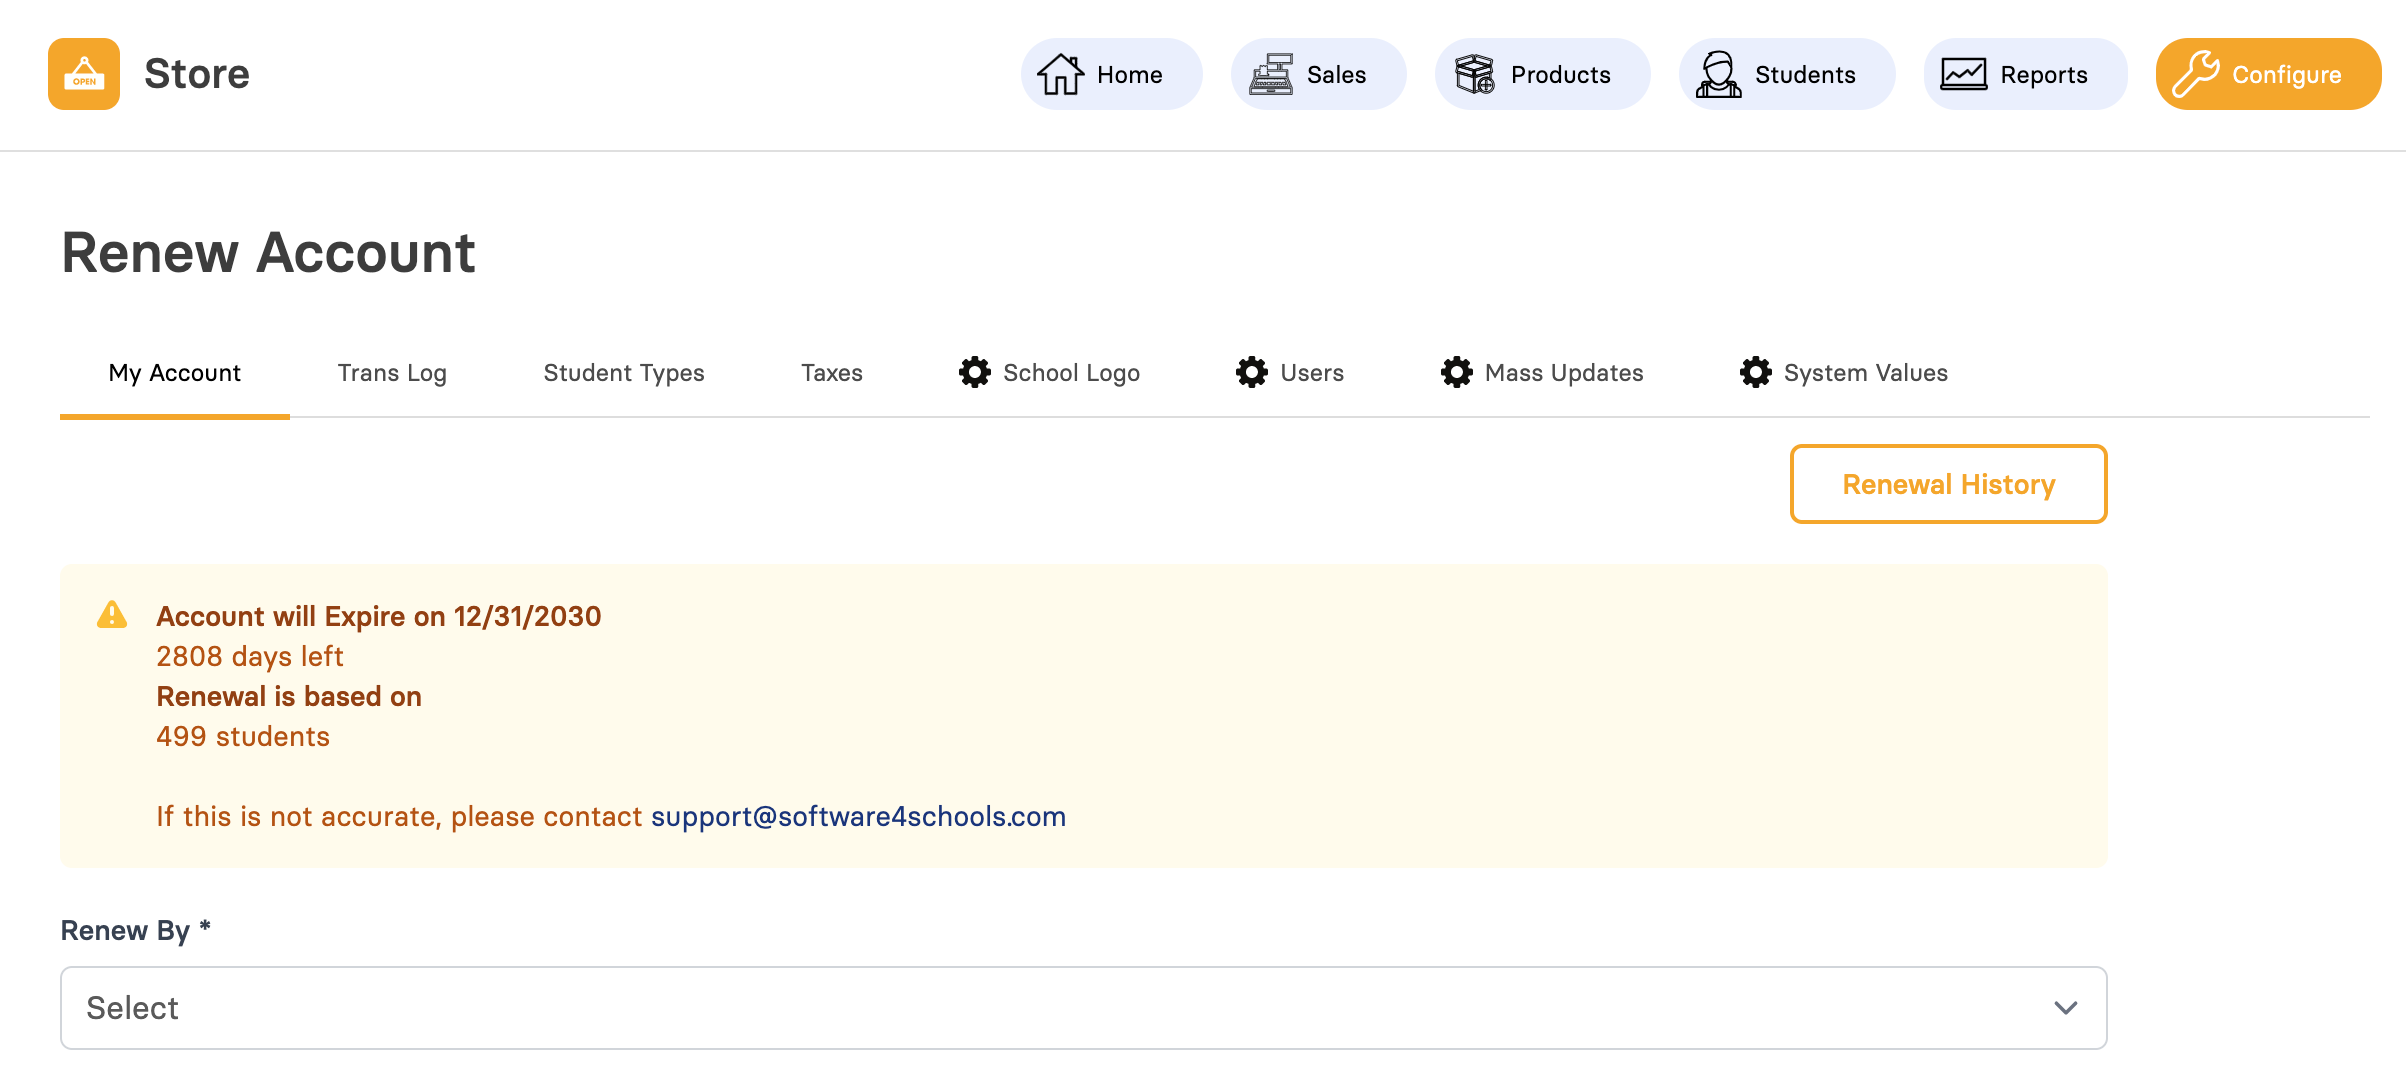
If you just have a single application i.e. (Store, Ticketing, Voting, etc) you can click on the product on the left then configure to see your account expiration date. From this screen you can request a quote or renew your account with a PO / Check / Credit Card. Just follow the prompts on the screen.
If you have multiple products please contact sales@software4schoos.com and we can assist you with your renewal. 